Bedazzling Light Switch: 15 Amazing DIY Ideas for Sparkling Decor
Brighten any room with a bedazzling light switch! Adding glitter, rhinestones, or dazzling gems to switchplates is a simple and affordable DIY upgrade. If you’ve ever felt your space is missing a touch of personality, these creative decor projects are a cheerful way to add sparkle and charm. Whether you love pastels, neon, or vintage finds, there’s an idea for every style and skill level. With basic craft supplies and some imagination, you can transform an ordinary fixture into a glittery focal point. The end result is a switchplate that spotlights your unique taste every time you turn on the lights.
Glittered Decoupage Plate
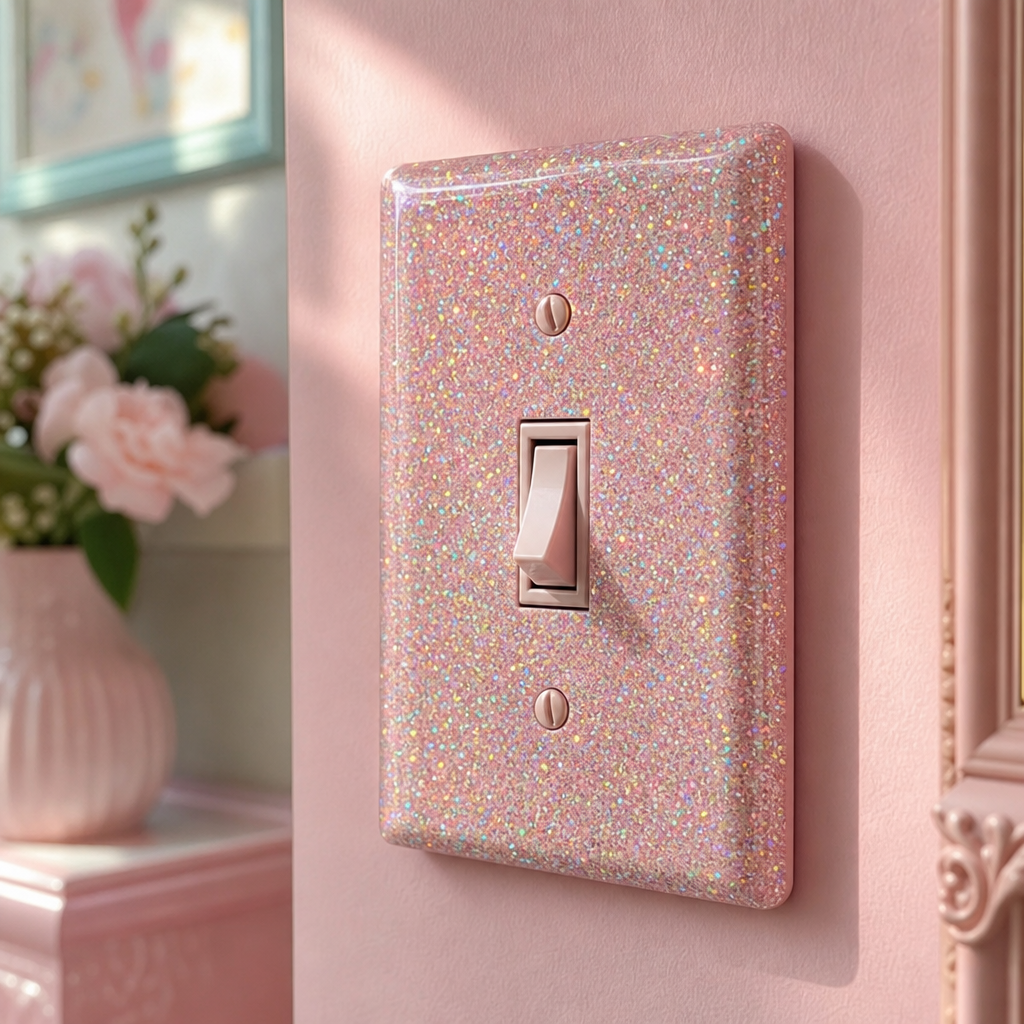
Try glamming up a plain light switch plate with glitter decoupage. Begin by laying down a thin layer of decoupage glue on the cover, then sprinkle fine craft glitter across the surface. Shake off the excess after a minute, ensuring even coverage depending on your color choice.
After it dries, apply a clear sealant to prevent glitter fallout and maintain a smooth surface. This project is affordable, quick, and adds playful sparkle to any room, great for a girl's bedroom or fun accent wall. Paired with coordinated decor, your switch plate becomes an eye-catching, custom detail.
Rhinestone Gem Switchplate
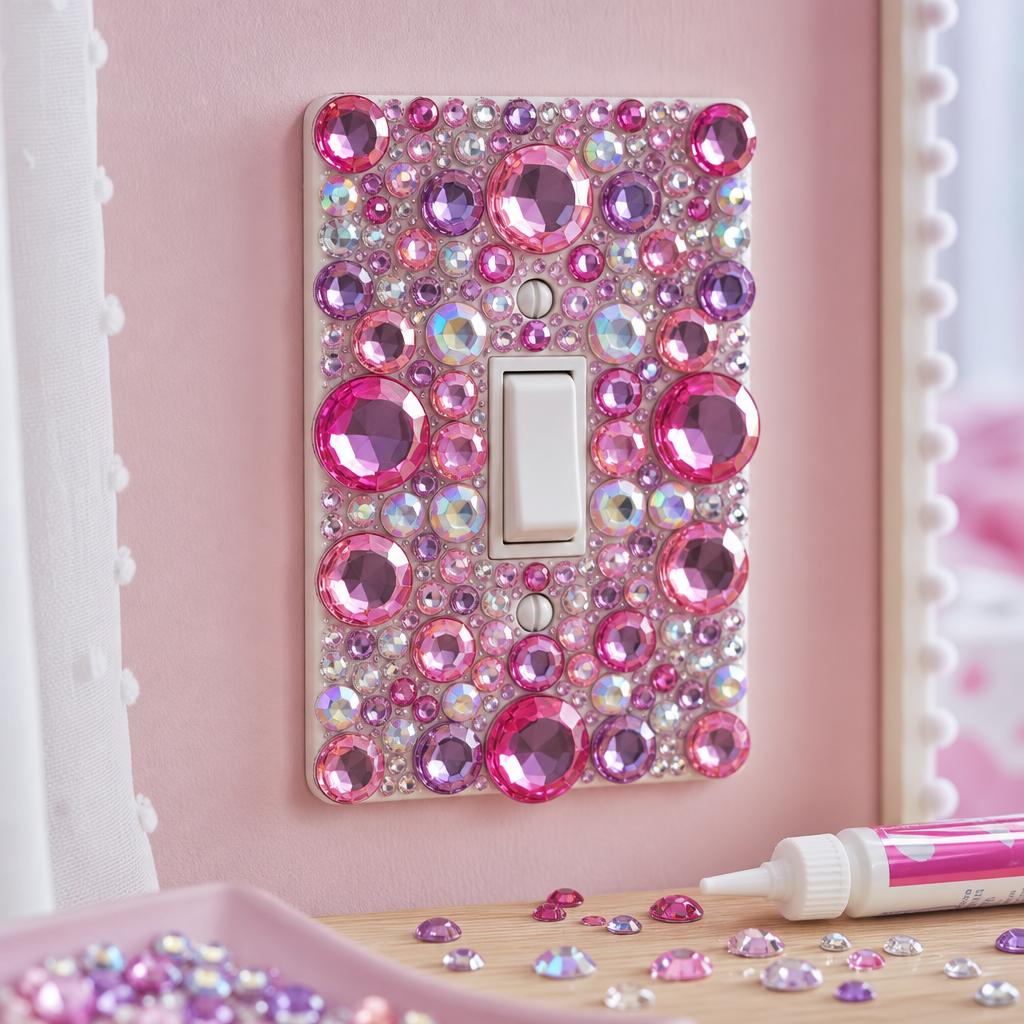
- Attach peel-and-stick rhinestones in a symmetrical pattern for maximum sparkle.
- Use a clear, strong glue to secure loose gems for extra durability.
- Select gems in complementary colors for a cohesive appearance.
- Outline the edges with smaller rhinestones to frame the design perfectly.
DIY gem switchplates are a fun way to introduce color and shine without overspending. Using affordable craft rhinestones allows for plenty of creativity while keeping costs down. Explore different patterns, colors, and layout ideas to make something that reflects your unique style and brightens any room.
Neon Nail Polish Finish

Quick Tip:
Quick Tip: Use leftover neon nail polish to paint your light switch cover, creating a lively, glossy look. Apply multiple coats for vibrancy, letting each dry thoroughly, and finish with a clear top coat for extra shine and durability.
Ready for a quick project? With just a few bottles of nail polish, you can add a splash of personality to your room and experiment with different color combinations. This method is budget-friendly and easy, making it perfect for beginner DIYers looking for an instant pop of fun.
Iridescent Pearl Layout
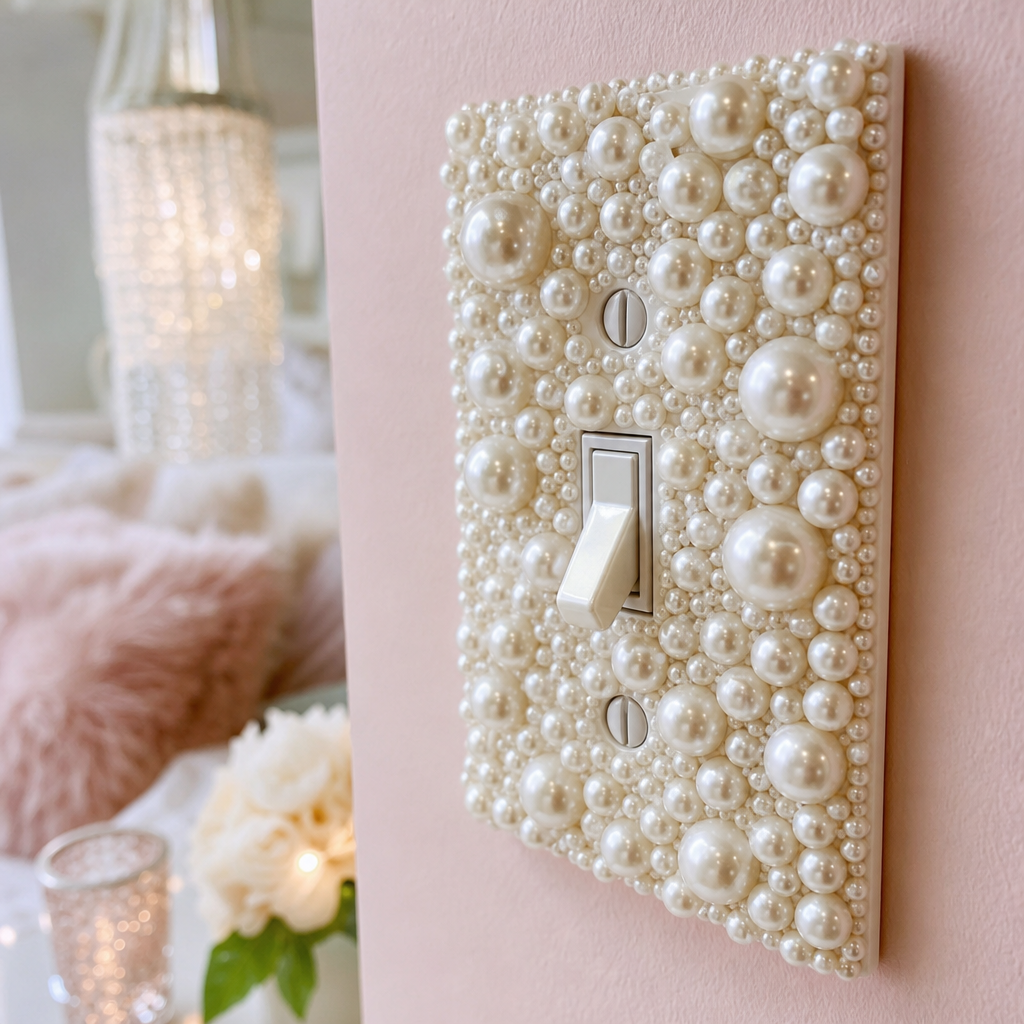
Before:
Switch covers coated in pearlized beads bring a whimsical and elegant touch to a girl’s bedroom. They suit pastel or neutral color schemes and catch the light beautifully, offering a subtle shimmer that brightens the area around the switch.
After:
By hot gluing flat-back faux pearls to a basic plastic switchplate, the once bland cover is immediately upgraded to a sophisticated accent. This easy change can make any room feel more personalized and chic.
Adding personalized touches like pearl beading instantly upgrades any space. With a little creativity and simple materials, you can create a one-of-a-kind focal point around your light switch. Small details such as these are perfect for girls’ rooms and can be changed out as tastes grow and evolve.
Pastel Sequin Mosaic
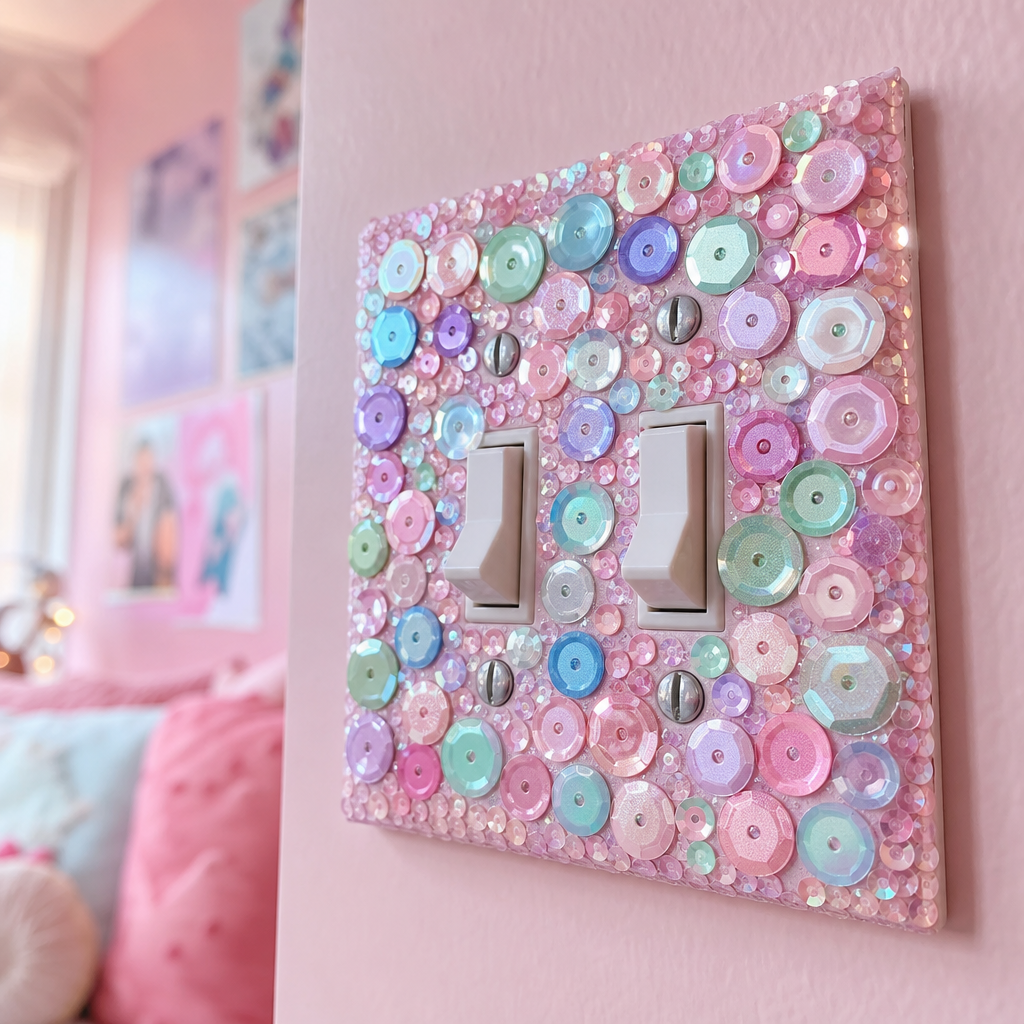
- Clean and dry your switchplate thoroughly before starting the project.
- Arrange pastel-colored sequins in a mosaic pattern to visualize your design.
- Use a clear-drying craft glue to attach each sequin, pressing firmly to ensure proper adhesion and letting dry as you go along rows or sections for neatness and control over the pattern's symmetry and density before allowing a final thorough dry overnight.
This playful pastel sequin mosaic project brings a sparkly, unique look to any bedroom or creative space. It's budget-friendly and easy for beginners, needing only simple craft supplies and a bit of patience. Try different color arrangements or shapes for a personalized touch and share your success with fellow DIYers.
Holographic Film Overlay

| Point | Pre-cut holographic film | Adhesive glitter vinyl |
|---|---|---|
| Cost-effective way to achieve a dazzling, color-shifting look. | Pre-cut holographic films are easy to apply and offer a smooth shimmer with a variety of available patterns. | Adhesive glitter vinyl is more customizable, letting you cut unique shapes and offering a textured sparkle. |
| Ease of application and removal for renters or frequent decorators. | Films can be repositioned during installation, making error correction simple and damage-free. | Glitter vinyl is more forgiving when trimming edges but may adhere stronger, needing more care during removal. |
| Long-term durability and cleaning convenience. | Film overlays can resist daily wear and mild cleaning, maintaining their shine for months. | Vinyl is slightly more textured, so dust might cling, needing gentle wipes to keep the sparkle bright. |
Choosing between pre-cut holographic film and adhesive glitter vinyl depends on your style, skill, and maintenance needs. Both materials offer affordable methods to update a plain switchplate with an eye-catching shimmer. Whichever you choose, you’ll have a fun, creative upgrade that stands out in any colorful teen or tween bedroom.
Ombre Bead Gradient
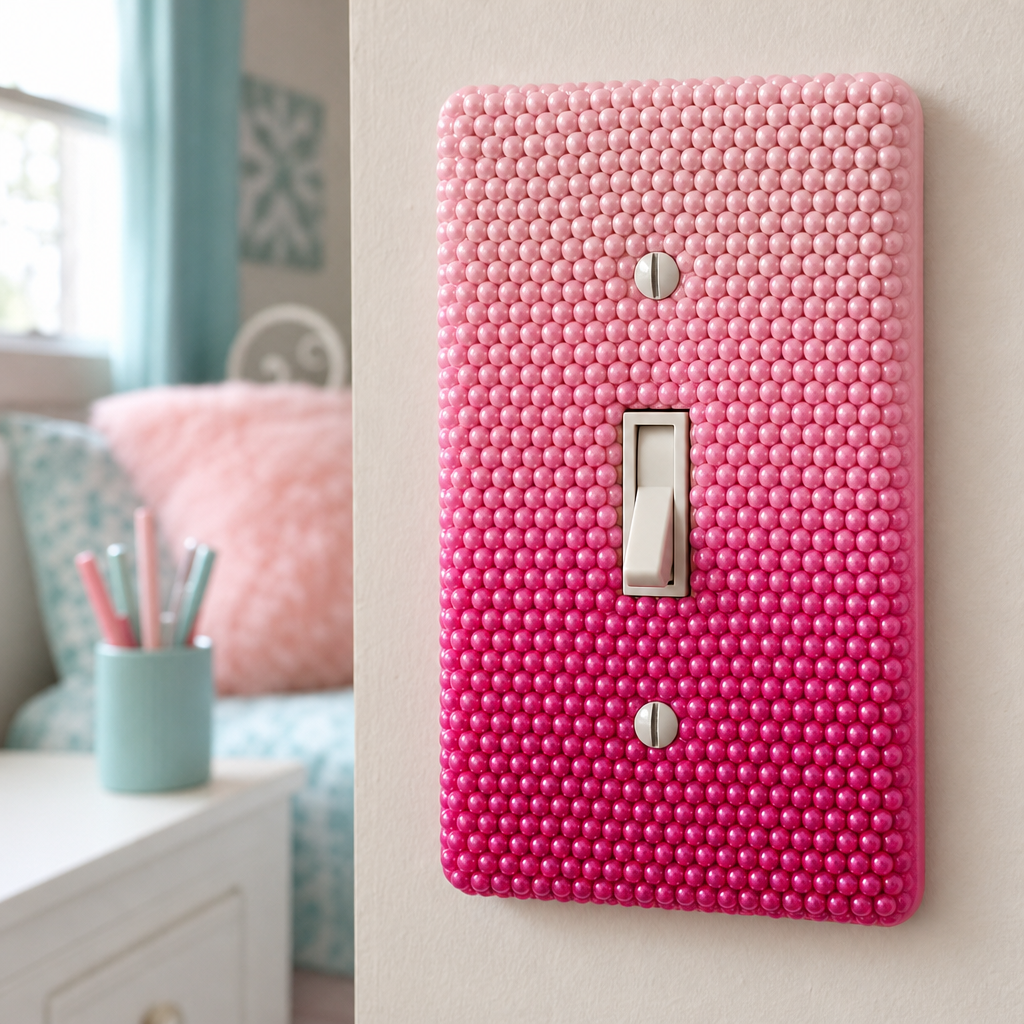
Do:
- Choose beads in at least three shades for a graduated color effect.
- Arrange the beads before gluing to ensure a smooth color transition.
- Use a strong, clear-drying craft glue for secure attachment and durability.
Don't:
- Don’t mix random colors or your switch may appear cluttered rather than ombre.
- Avoid piling beads on top of each other, which can look bulky and fall off.
- Don’t skip cleaning the switchplate before starting, as dust will prevent adhesion.
Beaded gradients bring a soft shimmer and playful texture to your DIY light switch project while allowing plenty of customization. With a simple palette and the right adhesive, you can create subtle or bold ombre effects tailored to your favorite shades. Experiment and enjoy personalizing your space with this easy, artful upgrade.
Butterfly Jewel Cluster

Supplies Needed: Flat-back butterfly gems, craft adhesive, tweezers, and a plain switch plate.
Skill Level: Easy for any DIYer; careful placement creates the prettiest effect.
Color Ideas: Layer various pink, purple, and iridescent gems for a playful, girly vibe.
Butterfly jewel clusters are a sweet way to give your switch plate a whimsical update using affordable supplies. Cluster gems tightly for big sparkle, or space them for a lighter look. This easy project personalizes any teen or tween room in less than an afternoon and makes every light switch a little celebration.
Vintage Brooch Feature

Create a striking focal point in your room by attaching a collection of vintage brooches to a plain switchplate. Choose pieces with different colors and textures for maximum visual interest. Arrange them to avoid interfering with the switch mechanism, securing each with strong glue for long-lasting hold.
This approach works well for anyone who enjoys a touch of glamour and upcycling. Thrift store finds or old costume jewelry bring uniqueness without breaking your budget. Select brooches with sparkling stones or enamel finishes to catch the light, making your light switch both decorative and personal.
Candy Color Cabochons

- Use flat-back cabochon gems in sweet pastel shades for a playful and girly effect.
- Arrange larger and smaller cabochons in scattered clusters for dimension and movement.
- Adhere them to the switchplate with a strong craft adhesive, allowing for a tactile 3D result.
- Accent the edges with tiny pearls or iridescent seed beads for extra detail and polish.
Cabochon switchplates provide cheerful pops of texture and color, ideal for bedrooms, craft nooks, or anywhere that could use a fun accent. Experiment with patterns or stick with a randomly scattered look. Personalize your plate by mixing various cabochon shapes, sizes, and glazes for a truly custom DIY vibe.
Mini Mirror Accents

Quick Tip:
Quick Tip: Use pre-cut mini mirror stickers or acrylic mosaic tiles for a fun, shimmering look that reflects light beautifully. Arrange mirrors closely for maximum sparkle or scatter them in playful patterns for a whimsical touch.
Mini mirror accents can instantly upgrade a plain switchplate into a focal piece, catching light from all angles. Try mixing sizes for extra interest. Crafting your own mirror design is an easy and affordable way to personalize any space, you’ll love the sparkle every time you flip the switch.
Satin Ribbon Wrap
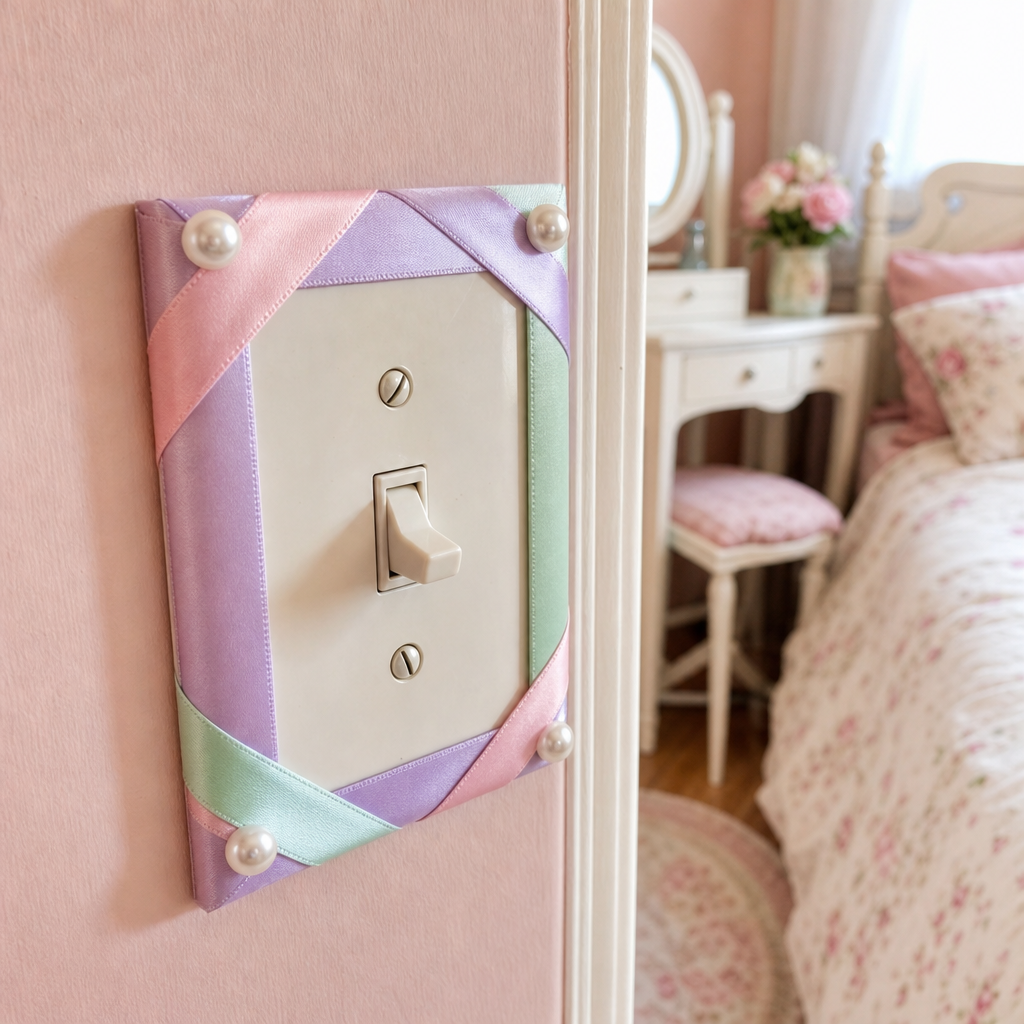
Before:
Before, a basic plastic switch plate simply blended into the wall with little personality. It lacked color, texture, or interest and didn’t reflect any unique style.
After:
After, satin ribbons in pastel tones are carefully wrapped and adhered around the plate, creating a soft, tactile frame. Small flat-back pearls can accent the corners for extra dimension while double-sided tape secures the ribbons smoothly in place, offering a polished yet fun look.
Giving your switch plates a satin ribbon wrap instantly changes the mood of a room and is a great project for budget decorators. This simple yet stylish upgrade takes only basic supplies and some patience. Consider mixing ribbon widths or shades for variety, and personalize with pearl accents or tiny bows for even more charm.
Crystal Heart Accent

- Clean the plastic or metal switchplate thoroughly to ensure proper adhesion for decorative elements.
- Lightly trace a heart shape in the center of the plate using a visible pencil or chalk, ensuring it's big enough for your chosen crystals.
- Apply a strong clear-drying craft glue along the traced heart shape, working in small sections for precision and control of the adhesive placement; avoid gluing over the actual switch opening area for usability and safety reasons.
Heart-shaped crystal accents create a standout touch for any room. With careful gluing and thoughtful placement, even beginners can personalize their space with a bit of dazzling charm. The finished switchplate will gleam beautifully, making a sparkly statement perfect for DIY enthusiasts who love a touch of glamour.
Pastel Sparkle Patchwork
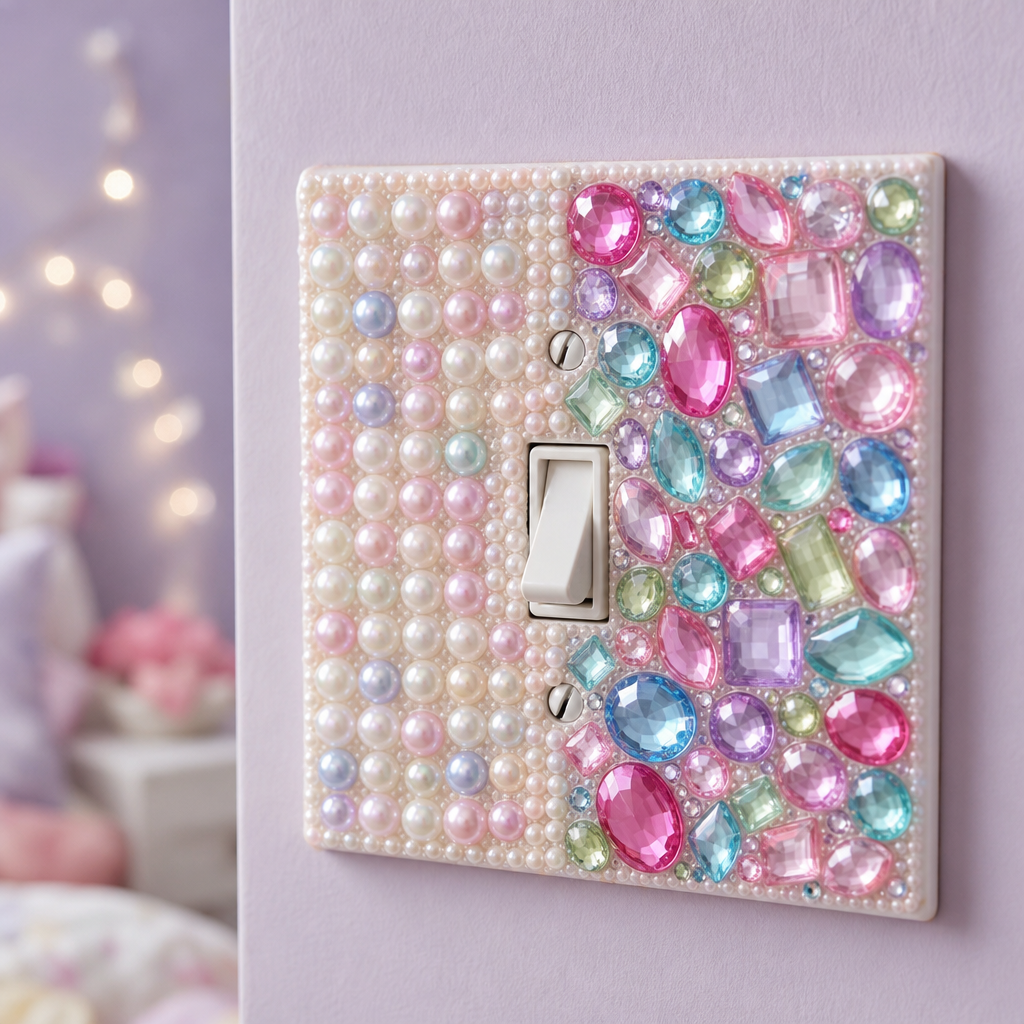
| Point | Pearl Tiles | Colorful Gems |
|---|---|---|
| Pearl tiles offer a soft sheen perfect for gentle lighting. | Pearl tiles have a subtle, creamy tone and catch the light softly, blending perfectly into pastel spaces. | Colorful gems introduce vibrant pops and sparkle, ideal for more playful, lively decor schemes. |
| Adhesion requires strong craft glue for both styles. | Pearl tiles work best with clear gel glue to avoid visible residue. | Gem adhesives can be more forgiving since the bold colors camouflage uneven glue. |
| Both options allow creative patterns like stripes or geometric shapes. | Pearl tiles lend themselves to smooth, elegant lines and traditional mosaics. | With gems, try mixing shapes for a whimsical random layout. |
With either pearl tiles or colorful gems, you can create a dazzling switchplate that matches your mood and space. Both styles are completely customizable and can be installed with only basic tools. Explore both to discover which vibe suits your personality and gives your room a delightful focal point.
For help choosing lighting, consult U.S. Department of Energy lighting guide.
Starburst Gem Medallion

Do:
- Arrange gem stickers in radiating starburst patterns for a dazzling focal point.
- Opt for a mix of small and medium faux rhinestones for texture and depth.
- Use tacky glue or self-adhesive gems for strong, lasting adhesion on plastic surfaces.
Don't:
- Avoid using hot glue, as it may damage or warp the plastic plate.
- Don’t crowd the switch area so the light switch remains functional and comfortable.
- Skip large, heavy embellishments that may fall off with repeated use.
Starburst-inspired touches create a fun highlight on any wall, especially for those who love a glam vibe. Mixing various gem sizes lets the pattern pop, while staying mindful of switch access keeps everything usable. This project is affordable, stylish, and perfect for customizing a room with personality.
Infusing personality with a bedazzling light switch is a fun, affordable DIY that truly brightens your space. Whether you try pearls, sequins, or mirrors, even one creative upgrade can make your decor feel special. Save these ideas on Pinterest, experiment with your favorite embellishment, and share your sparkling results to inspire others. Creativity is contagious!